Submitting a manuscript with tracked changes visible is one of the fastest ways to annoy an editor. It signals carelessness and can accidentally reveal internal debates or earlier drafts that were meant to stay private. But formatting errors are just the tip of the iceberg. Hidden metadata-like your company name, previous employer details, or total editing time-can compromise double-blind peer review or leak confidential information.
Cleaning a Microsoft Word document before submitting it to journals or publishers is not just about making it look nice. It is a technical process of stripping hidden data, enforcing consistent styles, and ensuring anonymity. This guide walks you through the exact steps to sanitize your file, using built-in Word tools and reliable browser-based alternatives.
The Core Problem: What Is Hiding in Your File?
When you save a .docx file, you are not just saving text. You are saving a package of XML files wrapped in a ZIP archive. Inside this structure, specific files hold your personal data. In Office Open XML formats, metadata lives in predictable locations like docProps/core.xml (author, last modified by) and docProps/app.xml (company, template path). Even if you delete your name from the title page, these hidden fields often remain.
For academic journals requiring double-blind review, this is a major risk. If your metadata reveals your affiliation, reviewers might identify you, violating the blind review process. For trade publishers or legal consultants, leaking "Last Modified By" or "Company" fields can expose client names or internal organizational structures unintentionally.
Understanding that your document contains more than what you see on screen is the first step. The goal is to strip this invisible layer while keeping the visible content intact and professionally formatted.
Step 1: Formatting Consistency and Styles
Before diving into metadata, ensure the visual structure is clean. Editors reject manuscripts with inconsistent fonts or manual spacing because they break automated production pipelines. Most journals follow standard guidelines similar to those in the Chicago Manual of Style or APA Publication Manual.
- Font: Use 12-point Times New Roman for body text unless specified otherwise.
- Spacing: Set line spacing to double (2.0).
- Margins: Set to 1 inch (2.54 cm) on all sides via Layout > Margins.
- Indents: Use a 0.5-inch first-line indent for paragraphs. Do not use spaces or tabs to create indents; set this in the Paragraph dialog box.
Crucially, use Word’s built-in Styles system. Apply "Normal" to body text and "Heading 1," "Heading 2," etc., to section titles. This provides structural metadata that journal XML converters rely on. If you manually bolded headings instead of using styles, downstream systems may fail to recognize them, causing delays in publication.
Step 2: Cleaning Spacing and Punctuation
Inconsistent spacing is a common amateur mistake. Old typewriter habits suggest two spaces after a period, but modern style guides (including APA 7th edition and Chicago 17th edition) mandate a single space.
Use Find and Replace (Ctrl+H on Windows, Cmd+H on Mac) to fix these issues globally:
- Double Spaces: Find two spaces and replace with one space.
- Spaces Before Punctuation: Find " ," (space-comma) and replace with ",". Repeat for periods, colons, and semicolons.
- Spaces Inside Parentheses: Find "( " and replace with "(", then find " )" and replace with ")".
Also, check your quotes. Word usually converts straight quotes to curly (smart) quotes automatically, which is preferred for prose. However, ensure you haven’t left straight quotes where curly ones belong, or vice versa for technical notation like prime symbols.
Step 3: Handling Track Changes and Comments
This is the most critical step for professional presentation. Never submit a file with active Track Changes or visible comments unless explicitly requested. Reviewers should see the final version, not your drafting process.
To clean this up in Word:
- Accept All Changes: Go to the Review tab, click Accept, then select "Accept All Changes and Stop Tracking."
- Delete Comments: In the Review tab, click Delete, then choose "Delete All Comments in Document."
- Verify Status: Ensure the Track Changes button is no longer highlighted.
If you are unsure whether changes are truly gone, switch the view to "All Markup" temporarily. If nothing appears, you are safe. Accidentally leaving a comment like "Is this conclusion weak?" visible to an editor is a career-limiting move.
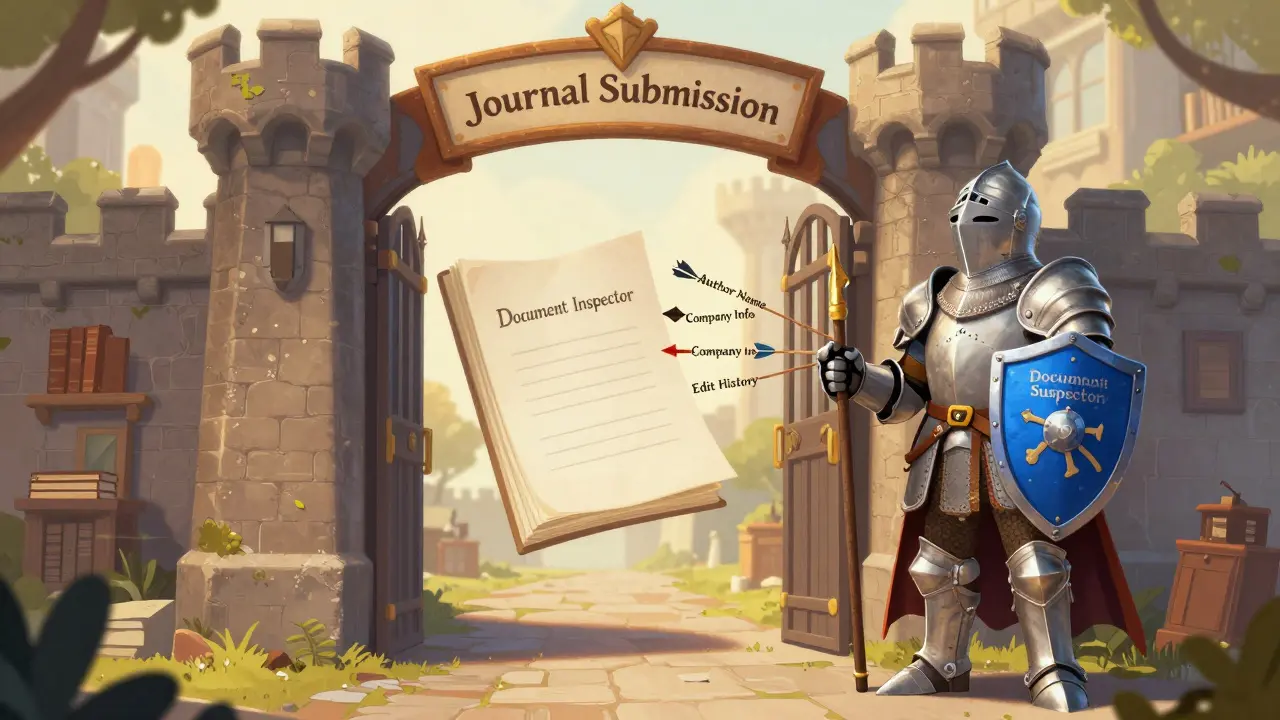
Step 4: Removing Metadata for Anonymity
Even after cleaning the visible content, your file still holds hidden properties. For double-blind reviews, you must scrub this data. Microsoft Word includes a tool called Document Inspector for this purpose.
In Word 2010 and later (Windows):
- Go to File > Info.
- Click "Check for Issues" and select "Inspect Document."
- In the dialog box, ensure all categories are checked, especially "Document Properties and Personal Information," "Comments," and "Revisions."
- Click Inspect, then click "Remove All" for each category.
- Save the document.
For Mac users, the option is often under Review > Protect Document > Remove personal information from this file on save. However, built-in tools can sometimes be finicky or miss custom properties added by add-ins.
If you do not have Microsoft Office installed, or if you prefer a zero-knowledge approach where your file never leaves your device, consider using a browser-based alternative. Tools like Vaulternal's Metadata Remover allow you to strip author names, company fields, and edit times locally in your browser. Since the processing happens via WebAssembly on your machine, there is no upload risk, making it ideal for sensitive drafts.
Step 5: References and Citation Fields
Many authors use reference managers like EndNote, Zotero, or Mendeley. These tools insert field codes into Word to manage citations dynamically. While useful during writing, these fields can cause compatibility issues when journals convert manuscripts to XML or PDF.
Check the journal’s author instructions. Some require you to "unlink" or "flatten" citations to plain text. In EndNote, this is done via the "Convert to Plain Text" option. In Zotero, look for "Unlink Citations." Always keep a backup copy with live fields in case you need to make revisions later.
Step 6: Final Verification and Backup
Before hitting submit, perform a final sanity check. Create a PDF preview of your document. Many submission systems generate a PDF from your uploaded Word file; editors will read this PDF. Check for:
- Broken page breaks (use Insert > Page Break, not multiple Enter keys).
- Missing figures or tables.
- Consistent numbering of headings and references.
Always work on a copy. Name your files sequentially (e.g., Manuscript_v1.docx, Manuscript_v2_Clean.docx). If a global Find and Replace goes wrong, you can revert instantly.
Why do I need to remove metadata from my Word document?
Metadata contains hidden information like author names, company affiliations, and editing history. For double-blind peer reviews, this data can reveal your identity, compromising the review process. For confidential documents, it can leak sensitive organizational details.
Does Document Inspector remove all metadata?
Microsoft Word's Document Inspector removes most standard metadata, including author names, comments, and revisions. However, it may miss custom properties added by third-party add-ins. For thorough cleaning, especially on non-Windows platforms, dedicated browser-based tools can provide a more comprehensive scrub.
Should I accept all track changes before submitting?
Yes, unless the journal specifically asks for a marked-up version. Submitting a document with visible track changes looks unprofessional and can confuse reviewers who cannot distinguish between intended edits and accidental marks.
Can I clean metadata without installing Microsoft Office?
Yes. There are free, browser-based tools that process files locally on your device. These tools strip metadata from DOCX and ODT files without uploading them to a server, ensuring privacy and accessibility for Mac, Linux, and ChromeOS users.
What is the difference between unlinking citations and removing metadata?
Unlinking citations converts dynamic citation fields (from tools like EndNote) into static plain text so they don't break during conversion. Removing metadata strips hidden file properties like author names and edit times. Both steps are important for a clean submission.