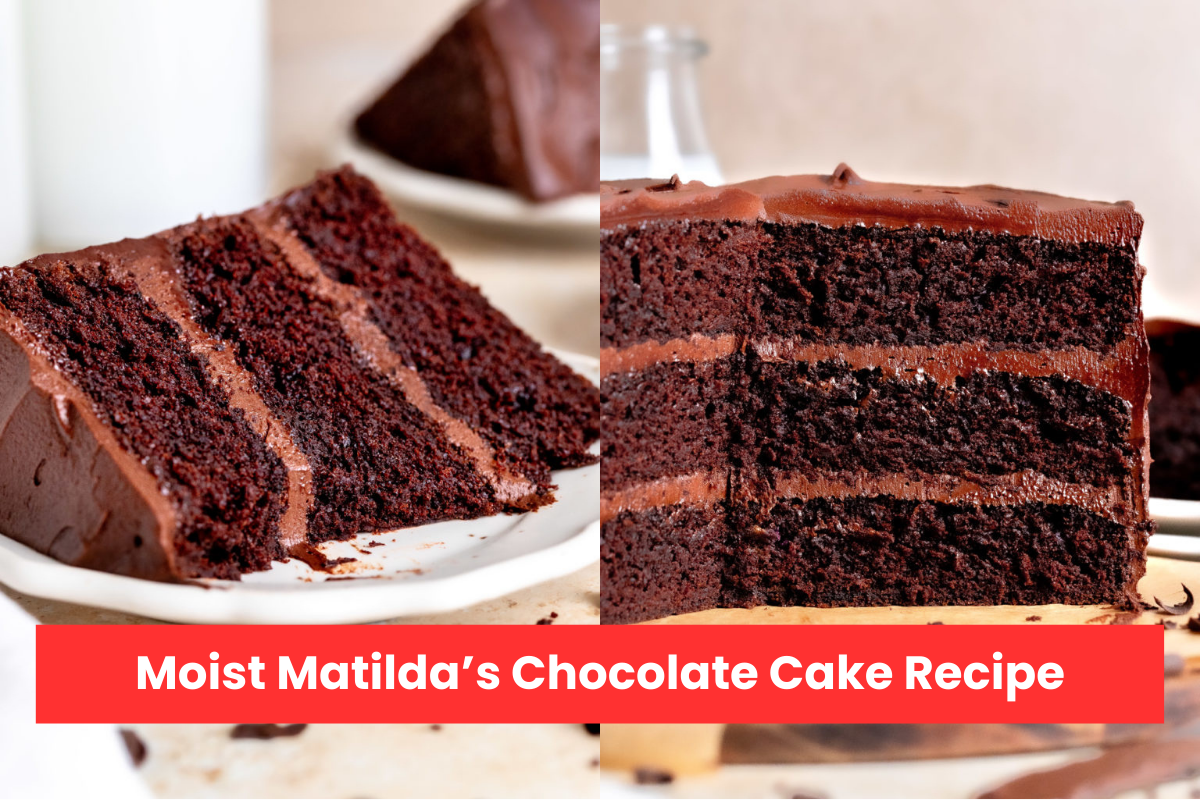
Moist Matilda’s Chocolate Cake Recipe: A Rich and Indulgent Delight
If you’re craving an unforgettable chocolate experience, Matilda’s Cake is the perfect choice. This rich, moist chocolate cake, inspired by the famous chocolate cake scene from the movie Matilda, will leave you wanting more. With three decadent layers of soft chocolate cake and a smooth chocolate sour cream frosting, this dessert is ideal for any celebration or just to satisfy your sweet tooth.
Key Ingredients for Moist Matilda’s Cake
To achieve the perfect texture and flavor, you’ll need the following key ingredients:
Dry Ingredients
- All-purpose flour: Gives the cake a soft, airy structure. Use flour with 10-11% protein for the best results.
- Cornstarch: Adds lightness and softness to the cake’s texture.
- Sugars: Granulated sugar brings moisture and sweetness, while brown sugar adds a hint of toffee flavor.
- Baking powder and baking soda: Help the cake rise and become fluffy.
- Salt: Enhances the overall chocolate flavor.
Wet Ingredients
- Eggs: Should be at room temperature to blend smoothly with other ingredients.
- Coffee: Intensifies the chocolate flavor. Freshly brewed coffee or espresso is ideal, but you can replace it with hot water if you prefer.
- Oil: Use a neutral oil like canola oil for moisture without affecting the flavor.
- Sour cream: Keeps the cake moist and adds structure. It also makes the frosting rich and creamy.
- Unsweetened cocoa powder: High-quality Dutch-process cocoa powder, like Valrhona, provides a deep chocolate taste.
- Semi-sweet chocolate chips: Used in the frosting for added richness.
- Butter: Essential for creating a creamy, smooth frosting.
Step-by-Step Instructions: How to Make Matilda’s Cake
Follow these simple steps to create a delicious and indulgent chocolate cake:
Step 1: Prepare the Oven and Cake Pans
- Preheat your oven to 170ºC/340ºF.
- Line three 8-inch (20 cm) round cake pans with parchment paper.
Step 2: Mix Dry and Wet Ingredients Separately
- In a large bowl, combine all the dry ingredients (flour, sugar, cocoa powder, cornstarch, baking powder, and salt). Stir them well.
- In another bowl, whisk together the wet ingredients (eggs, coffee, oil, and sour cream) until fully combined.
Step 3: Combine Wet and Dry Mixtures
- Slowly pour the wet mixture into the dry mixture while gently stirring to combine. Ensure there are no lumps in the batter.
Step 4: Bake the Cake Layers
- Divide the batter evenly between the prepared cake pans.
- Bake for 28-30 minutes or until a toothpick inserted in the center comes out clean.
- Let the cakes cool for 5 minutes in the pans, then transfer them to a wire rack to cool completely.
Step 5: Prepare the Frosting
- Sift together powdered sugar and cocoa powder, then set aside.
- Melt the semi-sweet chocolate with honey until smooth.
- Add the sour cream to the melted chocolate in small portions, mixing until smooth.
Step 6: Whip the Butter
- In a stand mixer, whip the butter on medium-high speed for 4 minutes, scraping the sides as needed.
- Gradually add the chocolate-sour cream mixture and continue mixing.
- Add the powdered sugar mixture and vanilla extract in two batches, mixing on low speed until fully combined.
Step 7: Assemble the Cake
- Level the tops of the cooled cakes with a knife to create even layers.
- Place the first layer on a serving plate or cake board. Spread a generous amount of frosting on top using an offset spatula.
- Repeat the process with the second and third layers.
- Cover the entire cake with the remaining frosting, ensuring a smooth and even finish.
Matilda’s Cake isn’t just a dessert—it’s an experience. With its moist, fluffy layers and rich chocolate frosting, it’s perfect for birthdays, celebrations, or any time you crave a chocolate fix. Pair it with a scoop of vanilla ice cream or a glass of cold milk for the ultimate indulgence. Whether you’re a fan of the movie Matilda or simply a chocolate lover, this cake will become a favorite in your kitchen.
FAQ
Q1. Can I replace the sour cream with something else?
Yes! You can swap sour cream with full-fat Greek yogurt using the same quantity (1:1 ratio). It works great and provides a similar creamy texture.
Q2. Can the cake be made a day ahead?
Yes, you can prepare it in advance by making the cake layers and frosting a day before. Here’s how:
- Cake Layers: Wrap them tightly in plastic wrap and store in the freezer. On the day of assembly, let them thaw for about 1 hour on a wire rack before using.
- Chocolate Frosting: Store it in an airtight container in the fridge. Before using, allow it to sit at room temperature for 30-60 minutes. Then, mix it in a stand mixer until smooth, and it’s ready for assembly.
Q3. How do I know when a cake layer is done?
Use a cake tester or a toothpick to check if the cake is fully baked. Once the baking time is up, insert the tester into the center of the cake. If it comes out clean (no wet batter sticking to it), the cake is done.
Q4. What if I only have 2 pans but need to bake 3 layers?
No problem! Here’s what you can do:
- Divide the batter into 3 parts. Pour ⅔ of the batter into 2 pans and bake the first two layers.
- After baking, let the layers cool for 5 minutes, as mentioned in the recipe instructions.
- Clean one of the pans, line it with fresh baking paper, and bake the remaining ⅓ of the batter to make the third layer.