Biscoff Cheesecake Recipe Step by Step Guide: Looking for a rich, creamy, and decadent dessert that’s super easy to make? This no-bake Biscoff cheesecake is the perfect treat!
Biscoff Cheesecake Recipe Step by Step Guide
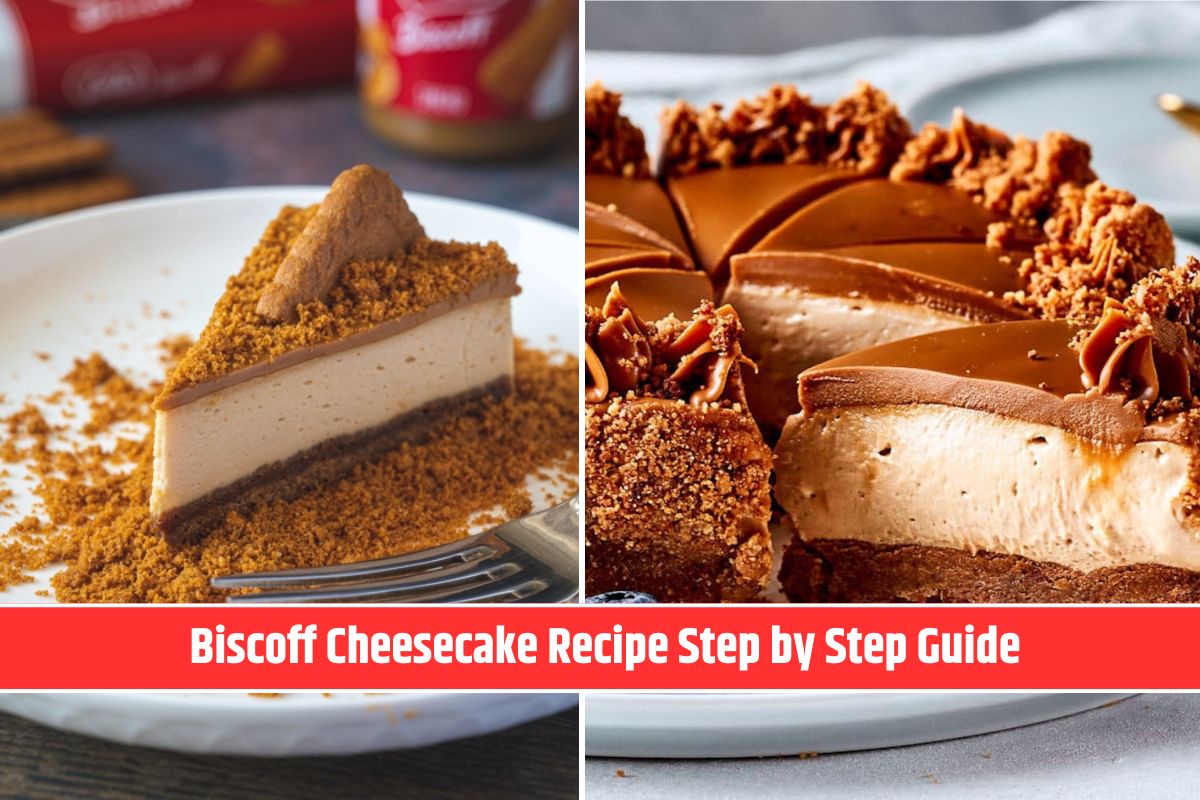
With a crunchy Biscoff cookie crust, a smooth Biscoff cheesecake filling, and a topping of melted cookie butter, this cheesecake is a must-try for anyone who loves the delicious caramelized flavor of Lotus Biscoff.
Why You Should Make This Cheesecake
This Biscoff cheesecake is the ultimate dessert for cookie butter fans. Its creamy filling pairs perfectly with the buttery cookie crust and the rich topping of melted Biscoff spread. Every bite is a mix of smooth, crunchy, and sweet flavors, making it a showstopper for any dessert table. Plus, since it’s no-bake, you can whip it up in no time and let the fridge do the rest!
Why You’ll Love This Biscoff Cheesecake
1. No-Bake Convenience
No oven is needed! This no-bake dessert is simple and stress-free, making it perfect for beginners or anyone short on time.
2. Loaded with Biscoff Flavor
From the cookie crust to the creamy filling and the topping, this cheesecake is packed with the signature spiced caramel flavor of Biscoff.
3. Perfect for Any Occasion
Whether it’s a family gathering, a dinner party, or just a treat for yourself, this cheesecake is sure to impress with its rich flavor and beautiful presentation.
Ingredients
For the Biscoff Cookie Crust
- 250 g Biscoff cookies (crushed)
- 75 g melted butter
For the Cheesecake Filling
- 400 g cream cheese (softened)
- 110 g Biscoff spread
- 100 g powdered sugar
- 1 tsp vanilla extract
- 240 g heavy cream
For the Topping (Optional)
- Melted Biscoff spread for drizzling or spreading
Step-by-Step Instructions
Step 1: Prepare the Biscoff Cookie Crust
To start, prepare the Biscoff cookie crust by blending 250 g of Biscoff cookies in a food processor until they form a fine, sand-like texture. Melt 75 g of butter and add it to the crushed cookies. Blend the mixture until well combined.
Line a 22 cm springform pan with parchment paper on the bottom and sides. Pour the cookie mixture into the pan and press it down firmly using the bottom of a glass. Press the crust slightly up the sides of the pan to create a neat base. Place the crust in the freezer to set while you prepare the filling.
Step 2: Make the Cheesecake Filling
For the cheesecake filling, beat 400 g of cream cheese in a large mixing bowl using a hand mixer or a stand mixer fitted with a paddle attachment. Beat on medium speed for about 1 minute, or until smooth and creamy.
Add 110 g of Biscoff spread, 100 g of powdered sugar, and 1 teaspoon of vanilla extract to the cream cheese. Continue mixing until the ingredients are fully combined and the mixture is smooth, which should take about 1 minute. Scrape down the sides of the bowl as needed to ensure everything is well incorporated.
In a separate bowl, whip 240 g of heavy cream using a hand mixer or stand mixer fitted with a whisk attachment. Beat the cream until it forms stiff peaks, but be careful not to overwhip, as this can turn the cream into butter. You’ll know it’s ready when you can turn the bowl upside down without the cream moving.
Step 3: Combine the Mixtures
Gently fold the whipped cream into the cream cheese mixture using a rubber spatula. Fold slowly and carefully to avoid deflating the whipped cream, as you want the mixture to stay light and fluffy.
Once the filling is fully combined, pour it over the prepared crust. Use an offset spatula to spread the filling evenly and smooth the surface. Cover the springform pan with cling film and place it in the fridge to chill for at least 8-12 hours or overnight, allowing the cheesecake to fully set.
Step 4: Add the Biscoff Topping (Optional)
Once the cheesecake has set, you can add an optional topping for an extra boost of Biscoff flavor. Melt a few tablespoons of Biscoff spread in the microwave for about 15-20 seconds until it’s smooth and pourable. Drizzle or spread the melted Biscoff over the top of the cheesecake. You can also add crushed Biscoff cookies for decoration, if desired.
Step 5: Serve and Store the Cheesecake
When ready to serve, run a knife under hot water, wipe it dry, and slice the cheesecake for clean, neat portions. The cheesecake can be stored in the fridge, wrapped in plastic wrap or kept in an airtight container, for up to 5 days.
Serving and Storage Tips
- Cutting Clean Slices: To get clean, neat slices, run a sharp knife under hot water, wipe it dry, and slice. Repeat for each cut.
- Storing: Wrap the cheesecake in plastic wrap or store it in an airtight container in the fridge. It will stay fresh for up to 5 days.
Tips for Perfect Biscoff Cheesecake
- Use a Kitchen Scale: For the best results, measure your ingredients accurately using a kitchen scale.
- Don’t Overmix: When folding the whipped cream into the cream cheese mixture, mix gently to maintain the cheesecake’s fluffy texture.
- Choose the Right Pan: A springform pan is ideal for easy removal and a clean presentation. Line it with parchment paper to prevent sticking.
Nutrition
- Calories: 513kcal
- Carbohydrates: 33g
- Protein: 5g
- Fat: 40g
- Saturated Fat: 18g
- Polyunsaturated Fat: 1g
- Monounsaturated Fat: 6g
- Trans Fat: 0.2g
- Cholesterol: 68mg
- Sodium: 150mg
- Potassium: 64mg
- Sugar: 24g
- Vitamin A: 873IU
- Vitamin C: 0.1mg
- Calcium: 46mg
- Iron: 0.1mg